
installing and commissioning a DCP cinema projector
Here’s a practical step-by-step guide for installing and commissioning a DCP cinema projector such as a Barco, Christie or NEC, assuming a standard cinema setup with a cinema server/media block and Dolby or equivalent audio processor.

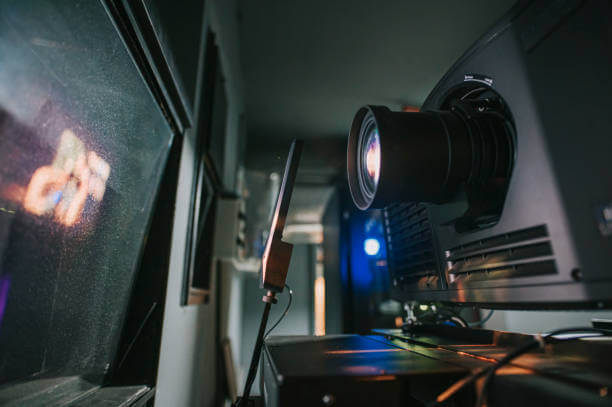
DCP Cinema Projector Installation
Professional cinema projection setup, server connection and sound system commissioning from ProScreens.
Professional Cinema Projection Setup
A successful DCP cinema installation involves much more than positioning a projector and switching it on. The projector, lens, cinema server, sound system and screen must work together to deliver a correctly framed picture, clear dialogue and reliable playback.
At ProScreens, we bring over 30 years of cinema projection and AV experience to permanent installations, temporary cinemas, private screenings and special events. We can help plan and configure a suitable system, with setup tailored to the particular Barco, Christie or NEC cinema projector and its associated equipment.
Site Survey and Projector Position
We start by checking the venue, screen dimensions, throw distance and available installation space. These measurements help establish the correct projector position and lens choice.
- Screen width, height and aspect ratio.
- Distance between the projector lens and screen.
- Projector height, lens centre and alignment.
- Space for the projector, pedestal, server and audio equipment.
- Access for delivery, installation and future maintenance.
- Electrical supply, ventilation and any extraction requirements.
Correct positioning helps achieve a sharp, evenly focused image and reduces the need for excessive optical adjustment.
Screen Alignment and Flat/Scope Setup
Cinema presentations commonly use Flat 1.85:1 and Scope 2.39:1 formats. Each needs the correct image size, positioning and presentation settings.
Using suitable test patterns, we check focus, geometry, framing and cropping across the screen. Where supported, we configure and save separate Flat and Scope lens presets and projector macros. Screen masking can also be incorporated where fitted and compatible.
This helps ensure that the intended picture, subtitles and framing remain visible when changing between formats.
Power, Cooling and Safe Installation
Power and cooling requirements vary considerably between cinema projectors. We check the requirements for the exact model, including its electrical supply, airflow, clearances and any external extraction.
The projector must sit on a stable, suitably rated pedestal or support, with safe access around the equipment. Any required electrical installation should be completed by a suitably qualified electrician.
Specialist work involving xenon lamp houses, laser systems, high-voltage components or internal power supplies requires appropriately trained and authorised personnel.
Cinema Server and Media Block Connection
We configure the projector connection to the cinema server or integrated media block, according to the equipment being used. Systems may include Dolby, Doremi or GDC servers and media blocks.
The installation includes checking communication between compatible components, network settings, content playback and automation.
DCP content → Cinema server/media block → Cinema projector → Screen
Dolby and Cinema Sound Setup
The sound system is an essential part of the cinema experience. We connect and configure the server’s audio output with the appropriate cinema processor, amplifiers and loudspeakers.
Cinema server → Dolby or compatible cinema processor → Amplifiers → Cinema loudspeakers
We check channel assignments using suitable identification material, confirming that dialogue, surround effects and low-frequency content reach the correct speakers. We also check picture and sound synchronisation and adjust delay where required.
The final configuration depends on the processor, speaker layout and intended presentation format.
Picture Calibration and Projector Macros
Image setup includes checking brightness, colour, focus and screen coverage. Where calibration forms part of the agreed installation, suitable measurement equipment is used to assess and adjust the picture against the applicable presentation requirements.
Projector macros can bring several settings together, including:
- Flat and Scope lens positions.
- Input selection.
- Light output.
- Colour settings.
- Compatible masking and automation commands.
- Alternative presentation inputs.
3D presets can also be configured where the complete system supports 3D presentation.
DCP Ingest and KDM Testing
Before the first screening, we test DCP ingest and playback through the complete system.
For encrypted content, we check that the supplied Key Delivery Message (KDM) matches the relevant server or media block and covers the scheduled screening period. We also check the system clock and confirm that the content plays during the authorised window.
KDMs and content permissions must be arranged with the relevant distributor or content provider. Testing these in advance helps identify problems before an audience arrives.
Final Cinema Commissioning Checklist
Our final checks are tailored to the installation and agreed scope of work:
- ✓ Confirm projector model, lens suitability and secure mounting.
- ✓ Check power, ventilation and equipment clearances.
- ✓ Verify projector, server and processor communication.
- ✓ Check Flat and Scope image alignment and presets.
- ✓ Inspect focus, framing, cropping and image geometry.
- ✓ Check picture calibration where included.
- ✓ Confirm audio channel mapping and speaker routing.
- ✓ Check dialogue clarity and lip-sync.
- ✓ Ingest and play a known-good DCP.
- ✓ Test encrypted playback with a valid KDM where applicable.
- ✓ Run Flat and Scope content through the full system.
- ✓ Test agreed automation and format changes.
- ✓ Confirm the correct startup, shutdown and restart procedures.
- ✓ Record settings and save configuration backups where supported.
- ✓ Explain routine operation to the nominated staff.
Temporary and Mobile DCP Cinema
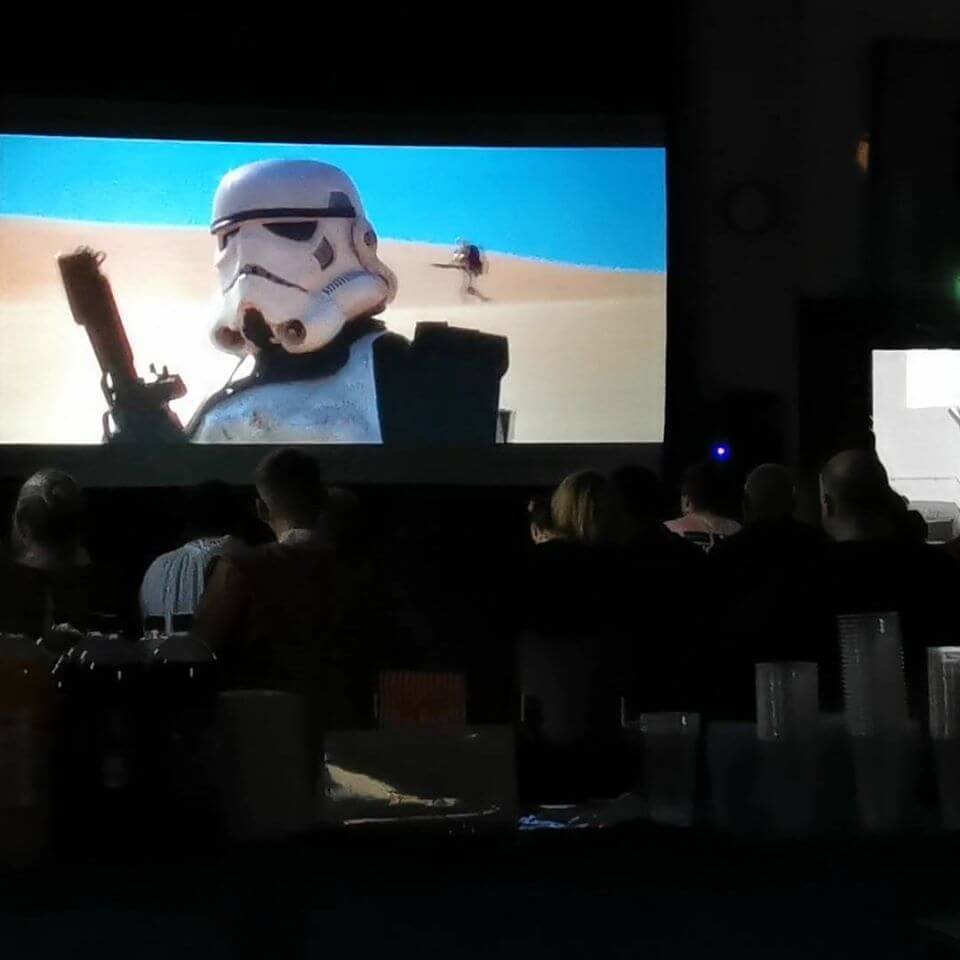
ProScreens can also help create a temporary cinema for a venue, event or special screening. The equipment and installation are planned around the screen size, audience, venue access, power supply and available setup time.
Whether you need help selecting a projector, connecting a cinema server or commissioning a complete screening system, talk to us about your project.